
How to Print a Report
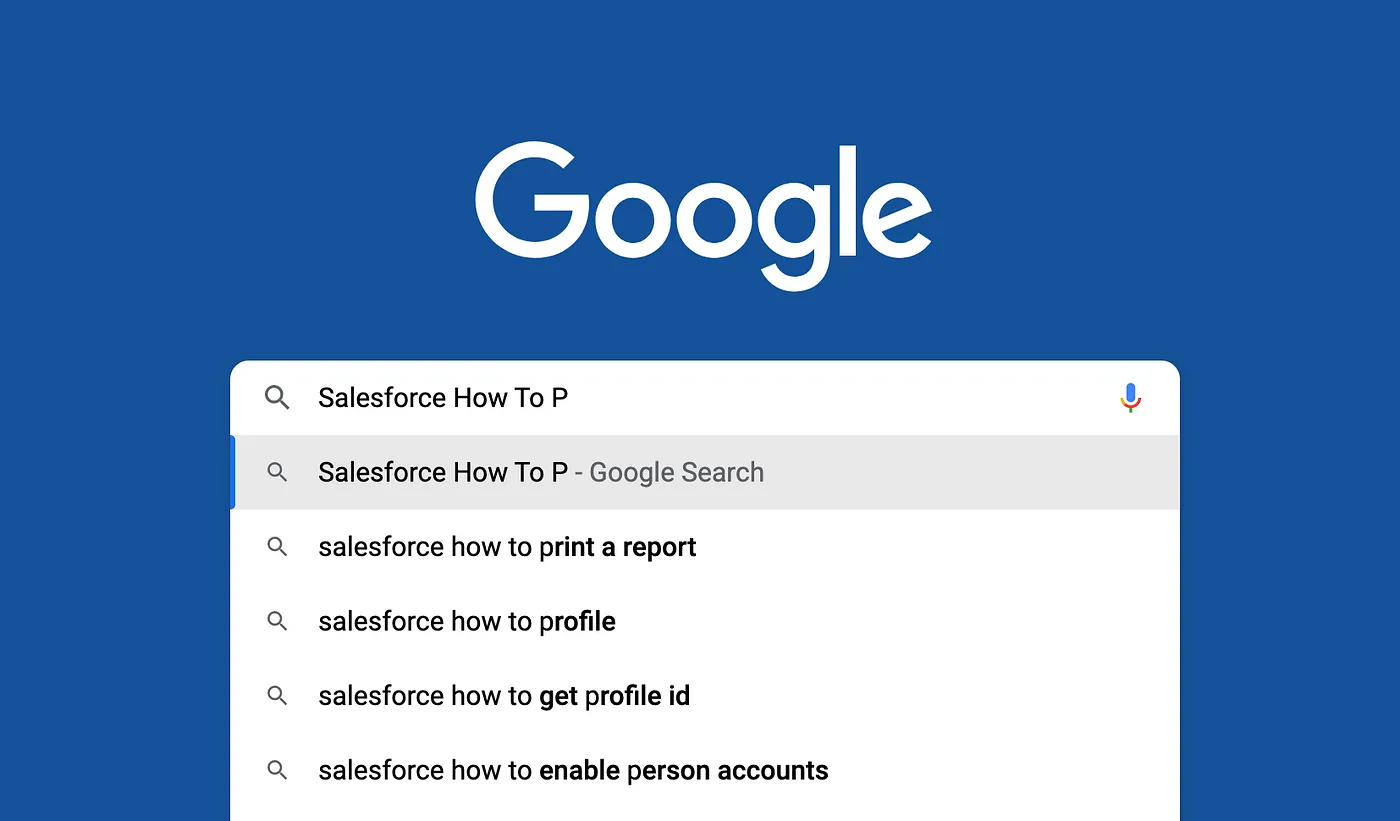
As Spring break draws trailblazers, friends, and family out into the sun for seasonal activities like hitting the beach, exploring new cities, and spending time with loved ones — it’ll be no surprise if all those new memories push out some long-ago-learned Salesforce skills. And that makes this the perfect time for another installment of our Salesforce “How to” ABCs! The series where we tackle the most commonly Googled Salesforce questions, letter by letter, to help trailblazers find the answers they’re looking for fast!
Today’s letter is “P” as in, “How to print a report”. Let’s dive in!
A key benefit of using Salesforce is the ability to generate reports, which can provide valuable insights into your company’s performance, customer behavior plus more.
For today’s “How To”, we’ll talk two ways of accomplishing our print goal — one using built-in functionality (at the expense of some “look and feel” freedom), and once using a doc-gen app to let us format and frame our report data exactly as desired!
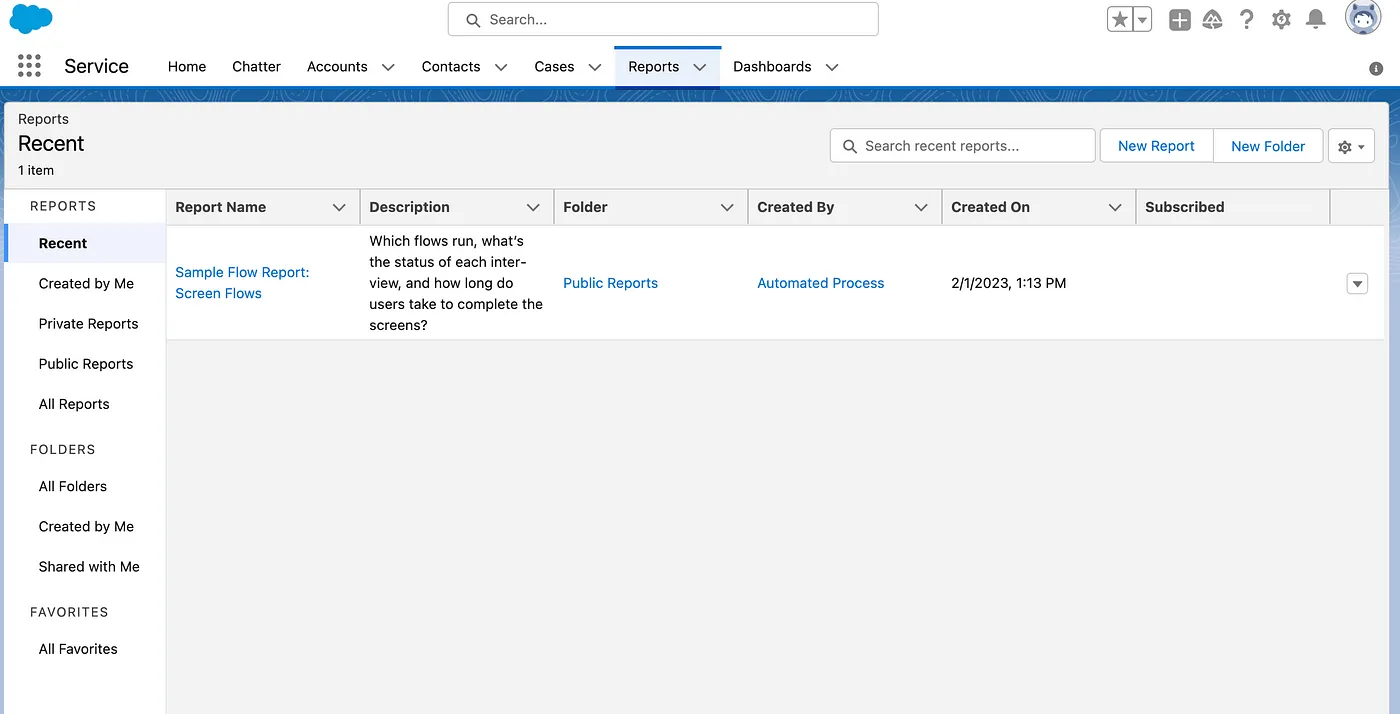
Let’s look at the built-in process first! To get started will need to create a report by heading to your org’s Reports tab and clicking on New Report.
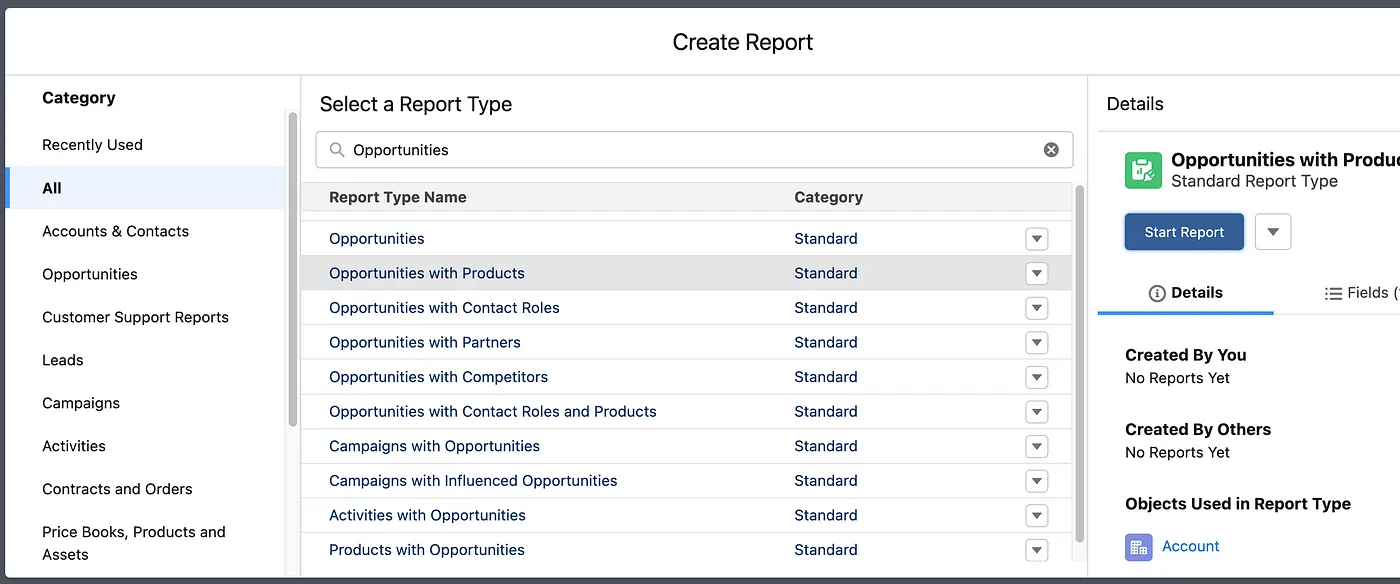
Choose a report type, and click on Start Report.
Customize the fields and filters, then click Save to lock in your report layout.
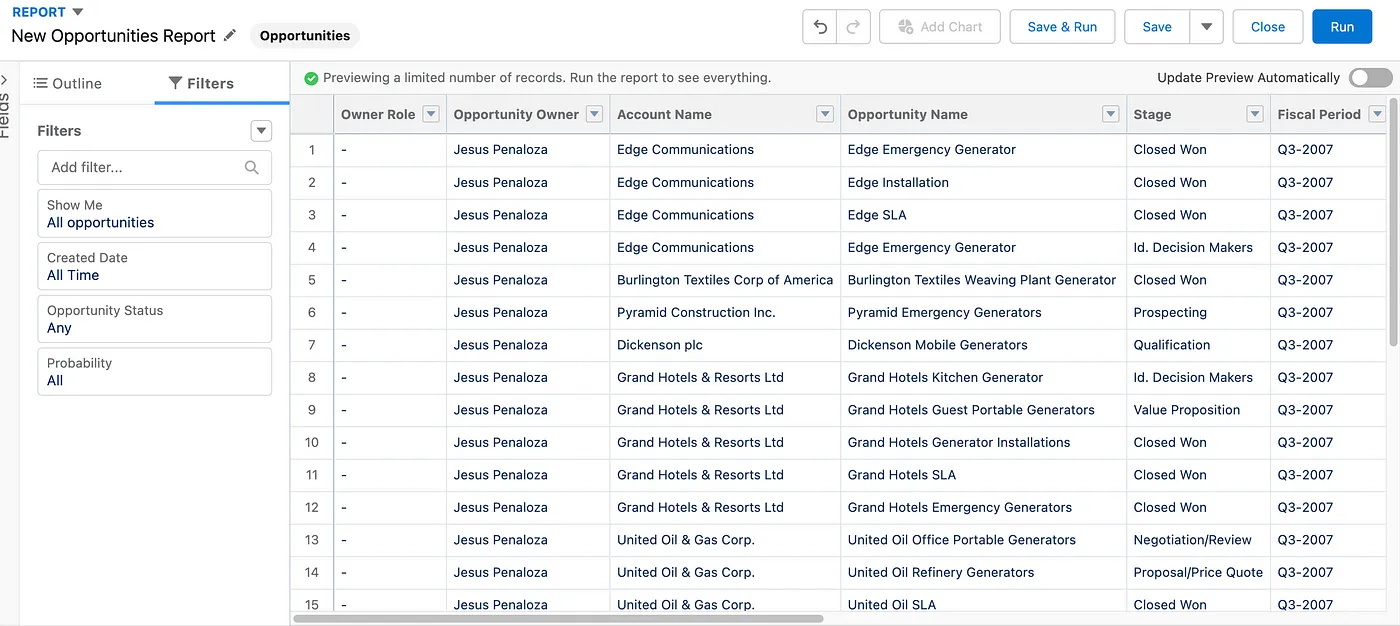
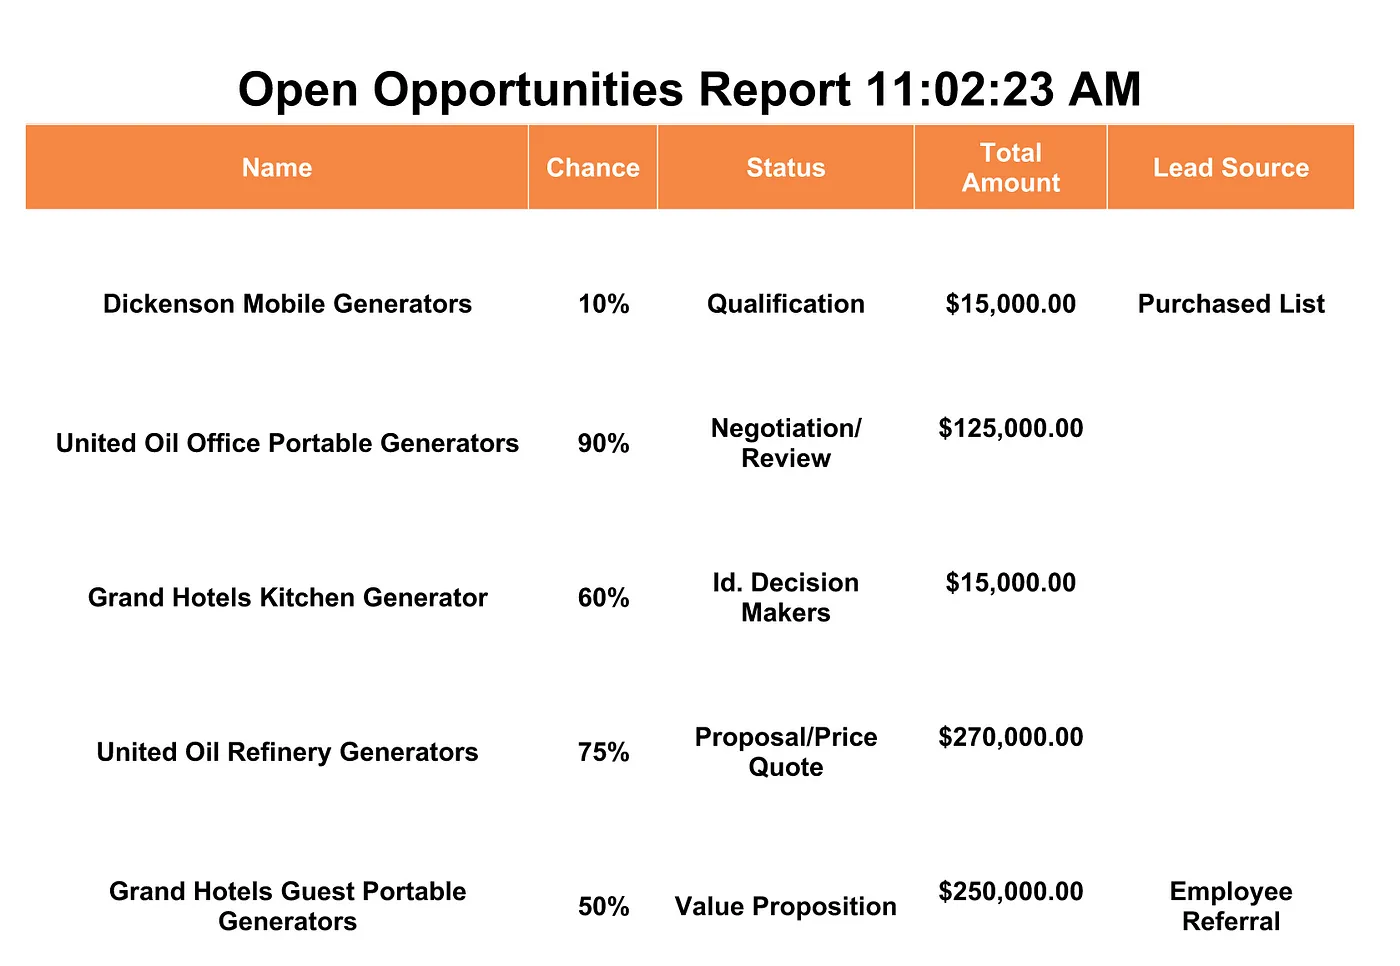
Once you have saved your report, preview it to make sure it includes the information you need. To do this, simply click the Run button.
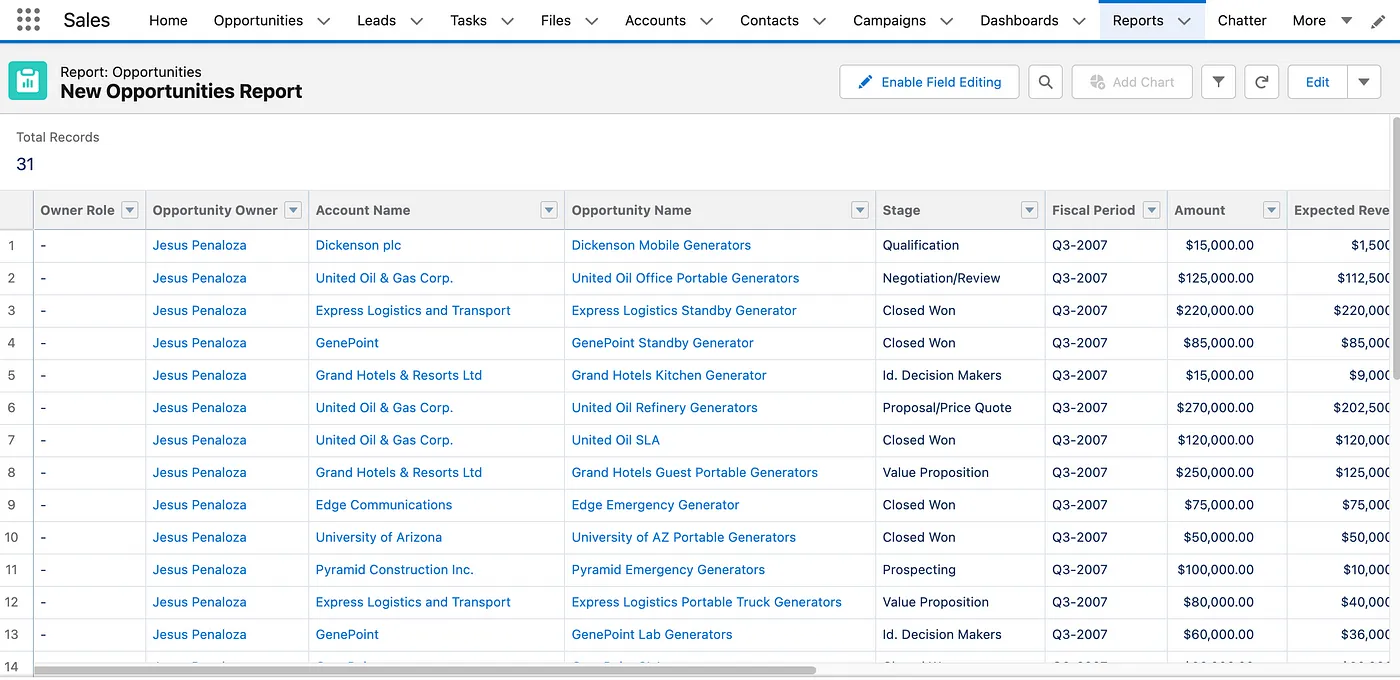
If satisfied, print your report using the browser printing preferences or export it to a .csv or excel format to print at a later time.
Customize The Look and Feel Of Each Report
Alright, now let’s talk tools that’ll let us improve look and feel. AppExchange solutions like Mambo Merge offer the ability to fully personalize the appearance of your reports. Create templates that outline the desired layout to easily configure the distribution of those who require it for analysis purposes, ensuring a consistent view every time.
Navigate the AppExchange and download the application. Following installation, establish a configuration that permits the creation of documents based on the information gathered from reports.
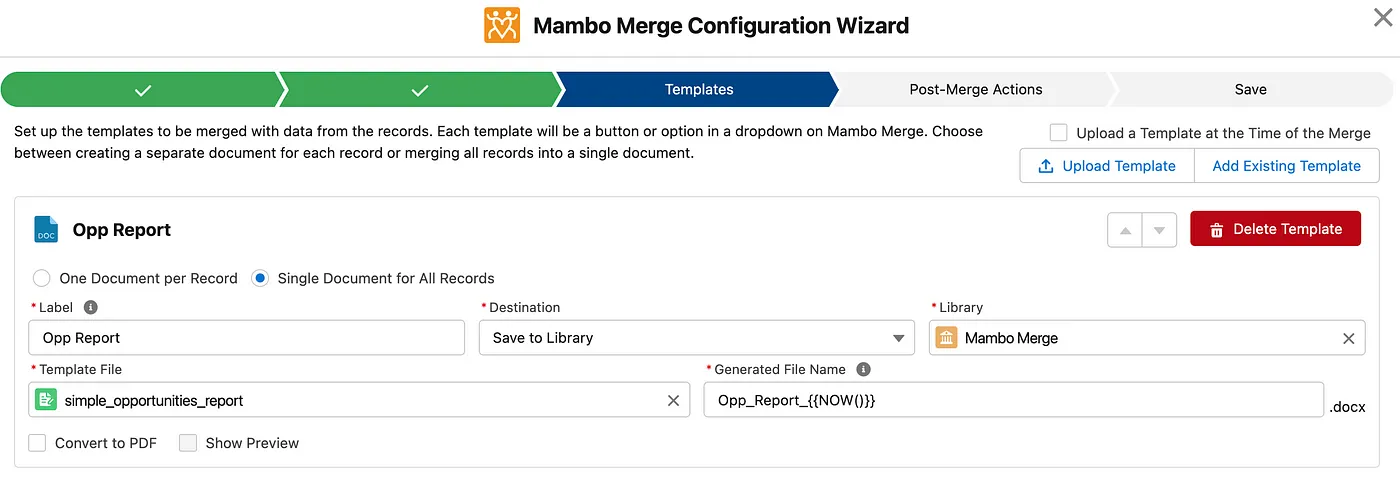
Using its simple wizard to create, edit or remove configurations for each report.

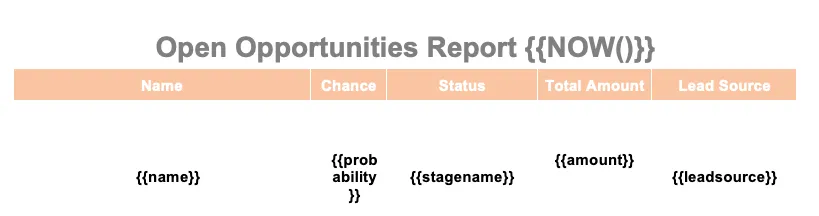
Take a simple file to define the layout of the data to retrieve and compile within a report. From there, add merge fields syntax to retrieve specific data within each line item.
Configure the actions to take once the document is generated.
Once complete, have your trigger ready to use.
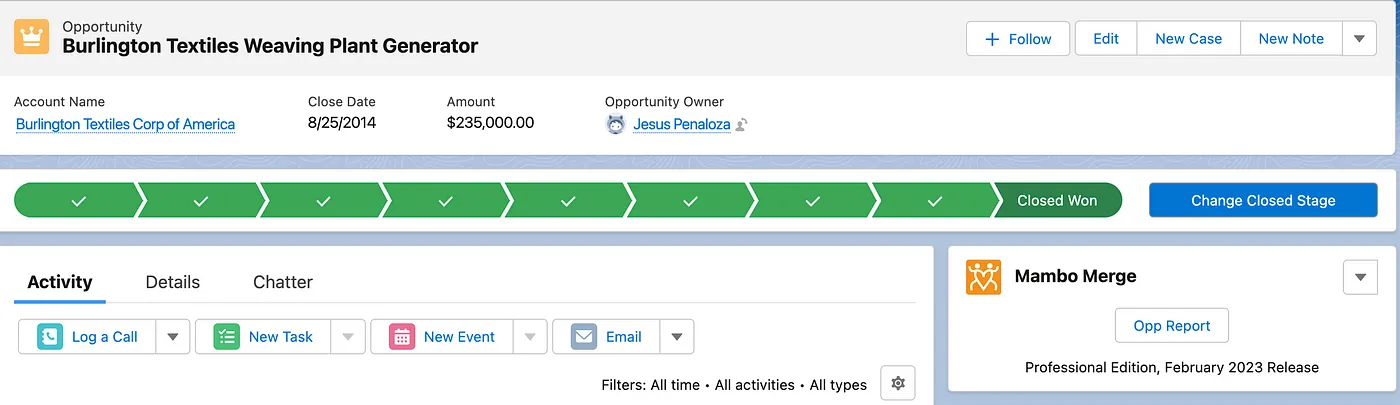
Creating a document layout for everyone who needs to review.
With customized report layouts, colleagues can quickly analyze the data they need. If you still need a hand getting started or just getting more out of your org in general, drop us a line! We’re always happy to help.
As always, will see you in the cloud.