
We’re smack dab in the middle of the Spring ‘19 and Summer ‘19 Releases and, while that means there are a bunch of awesome new features and updates to familiarize ourselves with, it also means the occasional long-ago learned Salesforce skill will sneak right out of our heads into the fog of the forgotten.
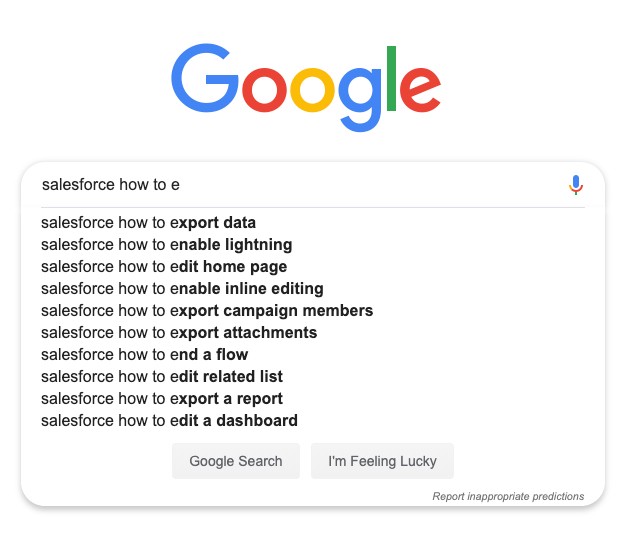
Luckily for us, there’s Google!
In today’s post we’ll continue our alphabetic walkthrough of the most commonly forgotten (and then searched) Salesforce tasks, so you can refresh your memory and get your job done fast. This time, it’s ‘E’ as in “How to Export Data”.
Let’s dive in!
The first thing we need to do is determine which tool we’ll use to export the data and that’ll mostly come down to why you’re doing an export. Salesforce gives us two primary instruments for managing an export — ‘Data Loader’ and ‘Data Export’ in the Setup Menu.
Data Export vs Data Loader
The Data Export Wizard (“Data Export” in the Setup menu) is the in-browser tool to use for regular, fairly infrequent backups of your org’s data. In Professional and Developer edition orgs, it’ll allow you to manually generate backup files once every 29 days, or to run an automatic monthly backup. In Enterprise and Unlimited edition you can use it to manually export data every 7 or 29 days, or automatically set up a weekly or monthly export.
Data Loader, on the other hand, is a client app that you need to install separately, but it has a lot more flexibility in terms of what you can do (and how often). Data loader gives us a ton of configurability in terms of which records, objects, and data you want to extract and can be run via its user interface or the command line making it easy to automate the export process or integrate the data with another system via APIs.
For today, we’ll focus on doing a Data Loader export because it’s more likely to be useful in multiple scenarios, beyond simply setting up a regular backup.
Installing Data Loader
The first thing we’ll need to do is install Data Loader. Luckily for you, we’ve already written up a post on just that! If you don’t already have it installed, just follow the walkthrough here and then pop back over to continue this post once you’re done!
Data Loader Export
Now we can get started! Begin by opening Data Loader.
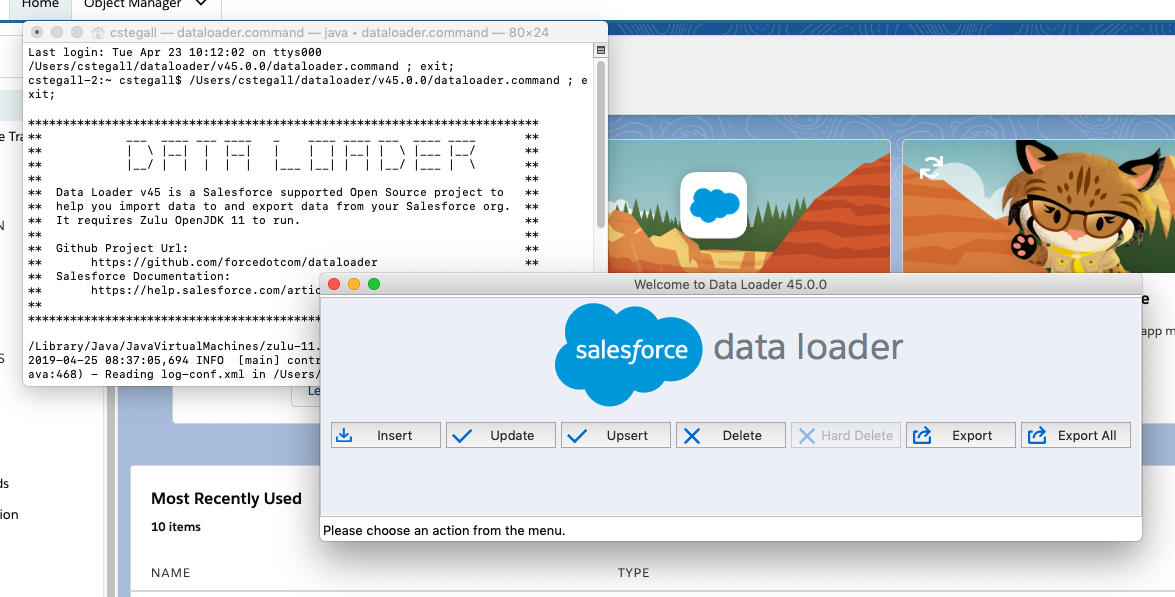
Then click ‘Export’ (or, if you want to also export archived activity records and soft-deleted records, click ‘Export All’).
That will open the Log In prompt.
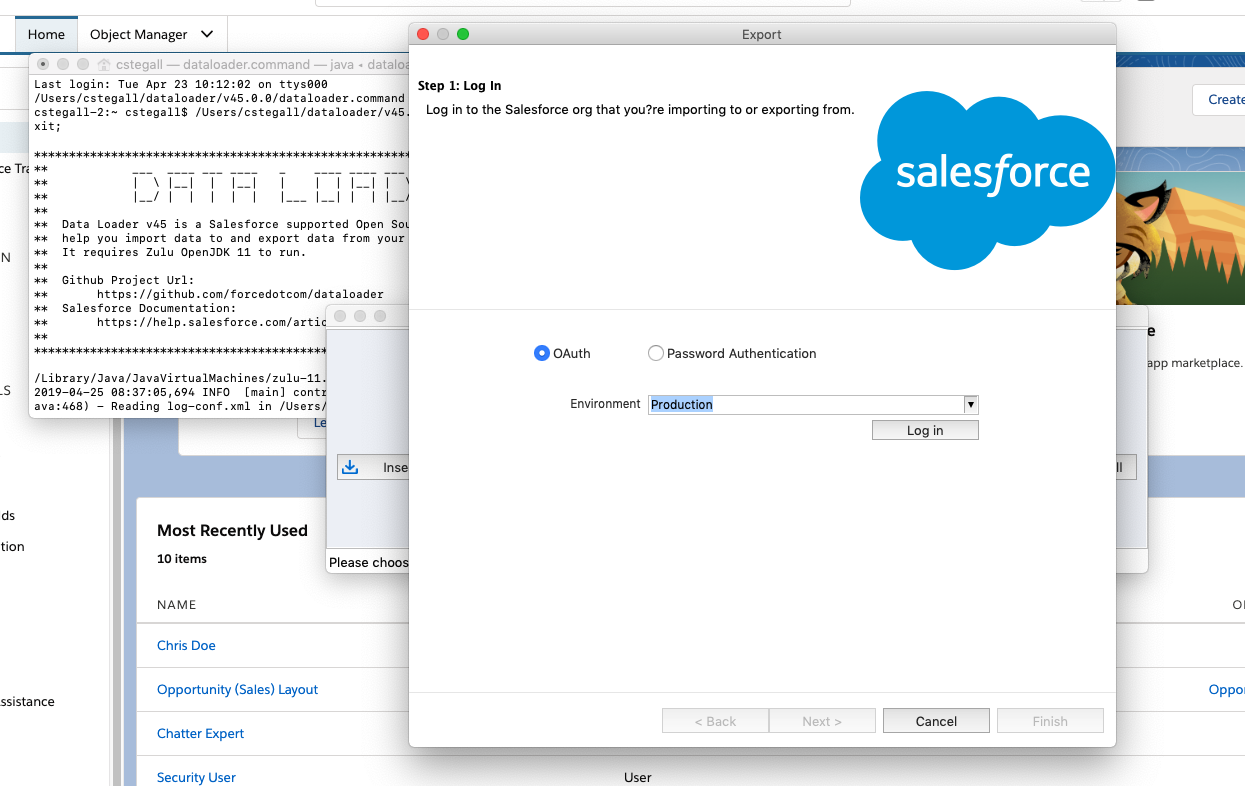
Be sure to specify if you’re logging into a production or sandbox environment in the ‘Environment’ picklist.
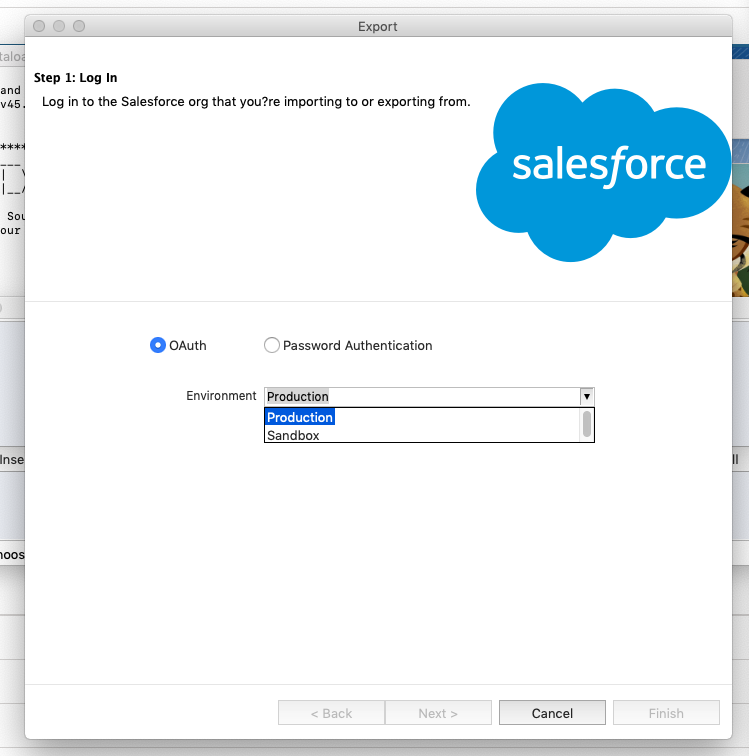
And then click ‘Log in’.
You’ll then see another window open, ready for your username and password. Enter the credentials for the environment you’d like to export from.
You’ll then need to ‘Allow’ Data Loader access to your basic information and to manage your data.
And then, once logged in, click the now activated ‘Next’ button.
Now, choose the object you’d like to export. If you don’t see the object you’re looking for, check the ‘Show all Salesforce objects’ checkbox.
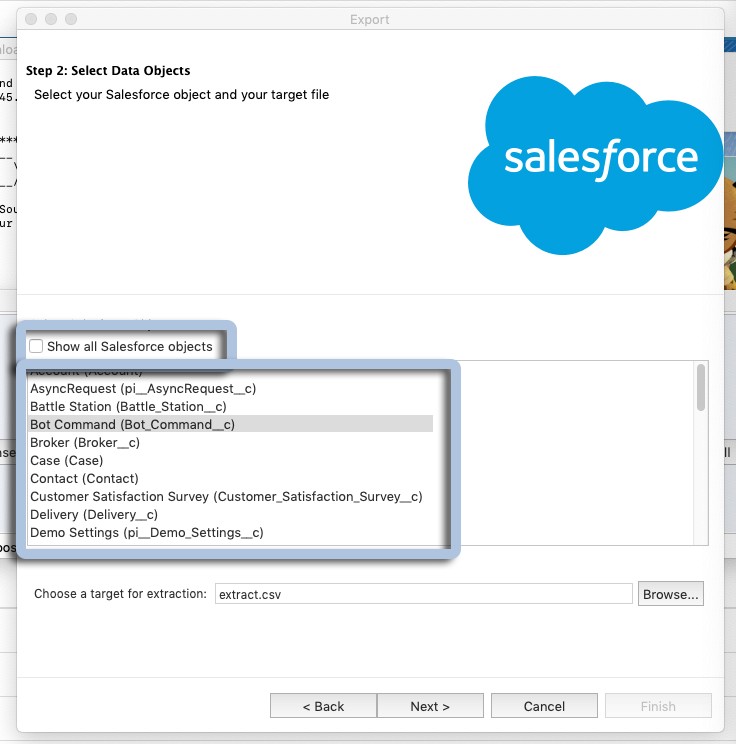
Once you’ve selected the object you want (for this example, we’ll select ‘Accounts’), select/name the CSV file and the location you’d like to export to. Note: here you can create a new file or overwrite an existing one.
Once you’ve done that, click ‘Next’.
That brings us to the ‘Step 3: Edit your query prompt’.
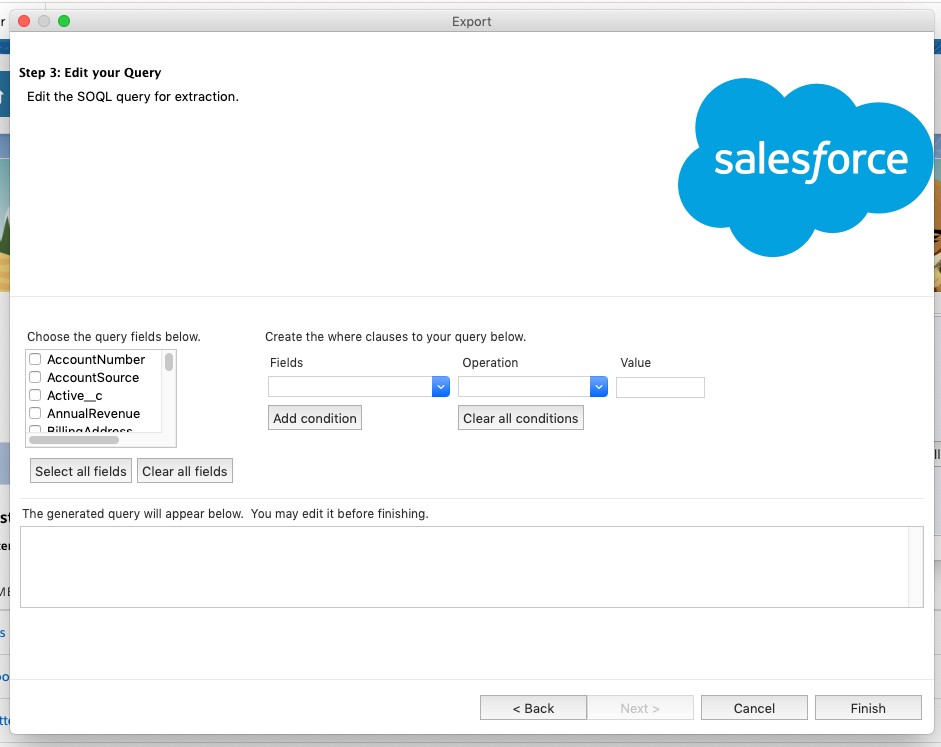
Here we’ll create the SOQL query for our data export. Don’t let those initials spook you, even if you’ve never heard of SOQL before (it stands for Salesforce Object Query Language), Data Loader will generate the query for you — all you have to do is make the selections you want on this screen.
For the sake of our example export, let’s select ‘ID’,
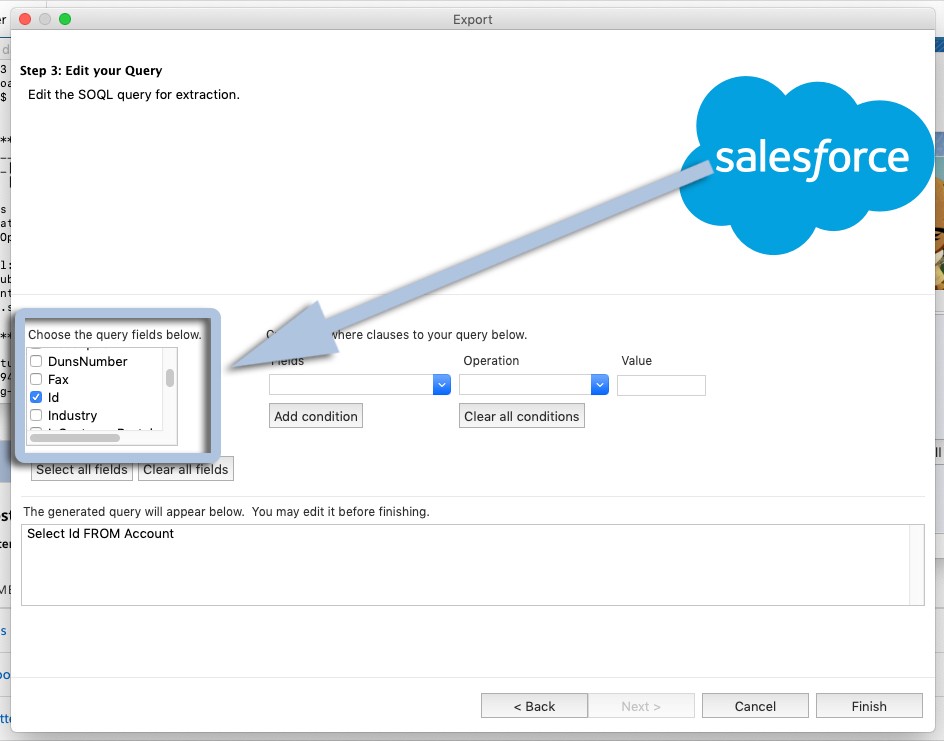
‘Name’,

and ‘BillingState’.
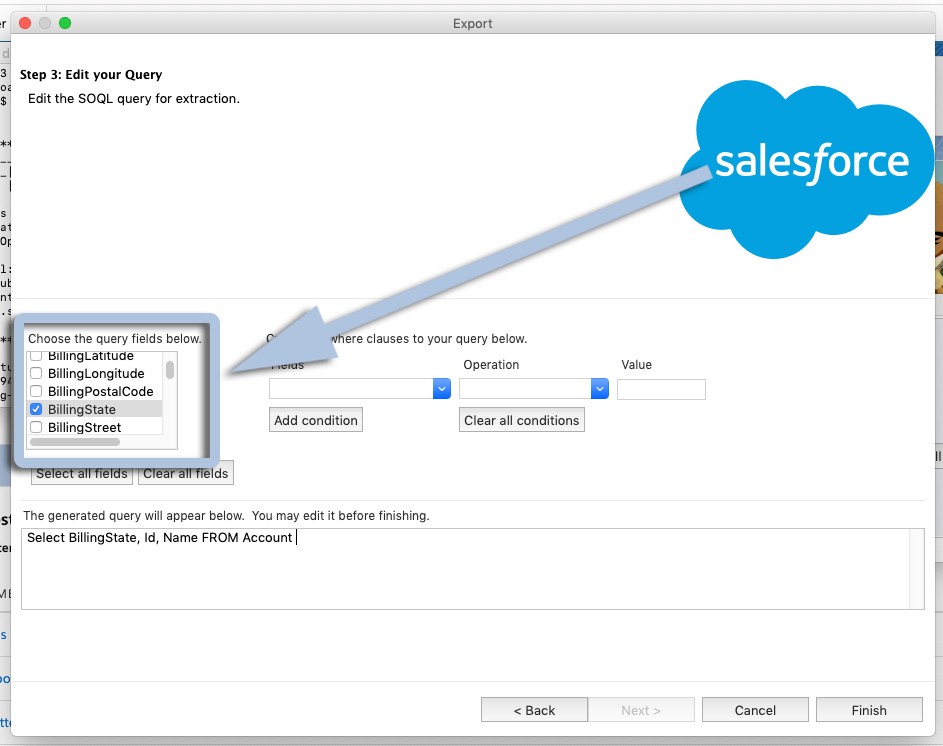
You’ll notice that as we’ve made our selections, our SOQL query has been automatically generated in the box below.
You can also add conditions to limit/filter which data you export. For example, if we wanted to only export our accounts that had more than 500 employees we’d select the appropriate ‘Field’, ‘Operation’, and ‘Value’,
And then click ‘Add condition’ to see it added to our query.
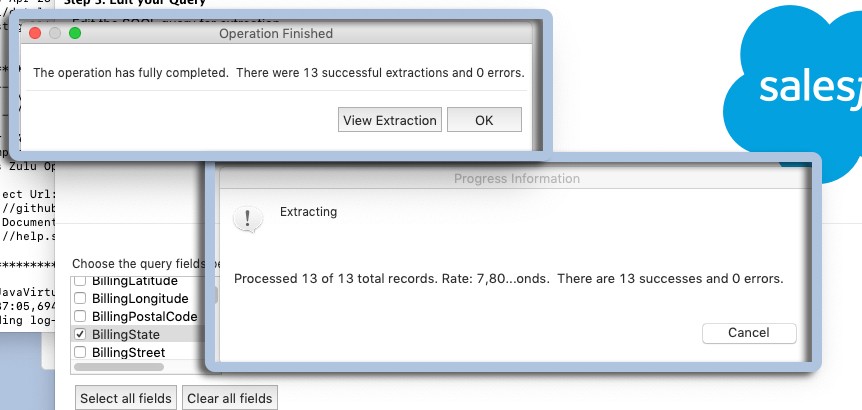
Once you have all of your fields and conditions set, click ‘Finish’.
You’ll see a warning prompt pop up, confirming that you’d like to begin your export. Click ‘Yes’.
You’ll then see a progress window and, ultimately, an “Operation Finished” window when the extraction is complete. Here you can click ‘OK’ to close the prompt or ‘View Extraction’ to see the data you’ve exported.
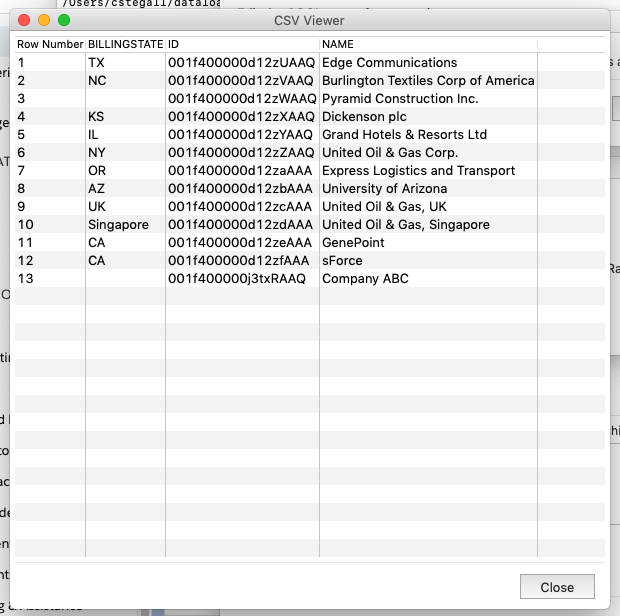
If you choose to view the extraction, the CSV viewer will open, revealing your results.
You’ll also be able to find the CSV file in the destination you chose initially.
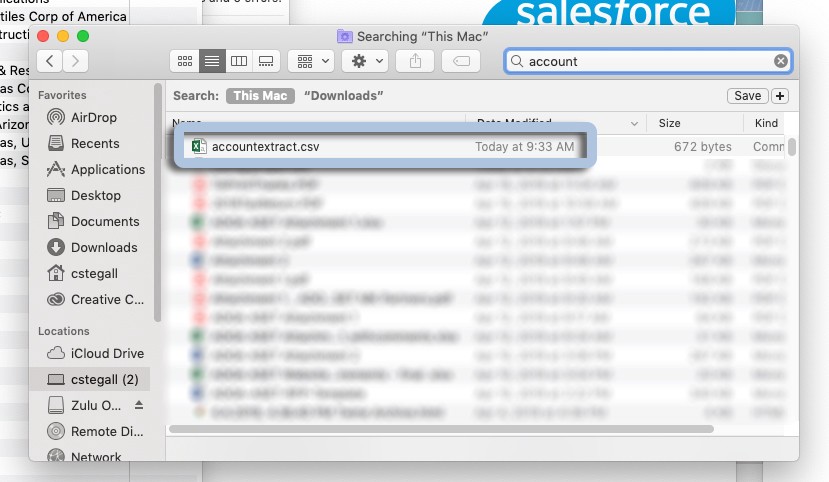
And you’re all set! Your data is saved as that CSV and ready to be used however you need it!
If you want to dive into more of SOQL’s capabilities, there’s in-depth documentation here and, if you’d prefer a little help getting your queries, exports, and subsequent integrations up and running — give us a call! Helping you make the most of your org’s data is what we do best.
If you have any questions, drop them in the comments below and, if you never want to miss an installment of our Salesforce “How To” ABCs, be sure to follow the blog right here!
Until next time, keep working hard, smart, and happy! We’ll see you in the cloud.